HANDSTAND: HOW LONG WILL IT TAKE TO LEARN?
How long will it take to learn a handstand?
That depends on what you classify as learning a handstand. The journey will continue as long as you continue exploring and challenging your own limitations.
If you’re feeling stuck, repeating the same mistakes, and unsure of where to direct your focus next, read on to uncover the part of your handstand journey.
PHYSICAL PREPARATION
Whatever you do, do not skip this step!
Hands, wrists and elbows are everything, they are going to support your entire body weight (the same way as your feet, ankles and elbows do, only you have been training and strengthening your ankles your entire life).
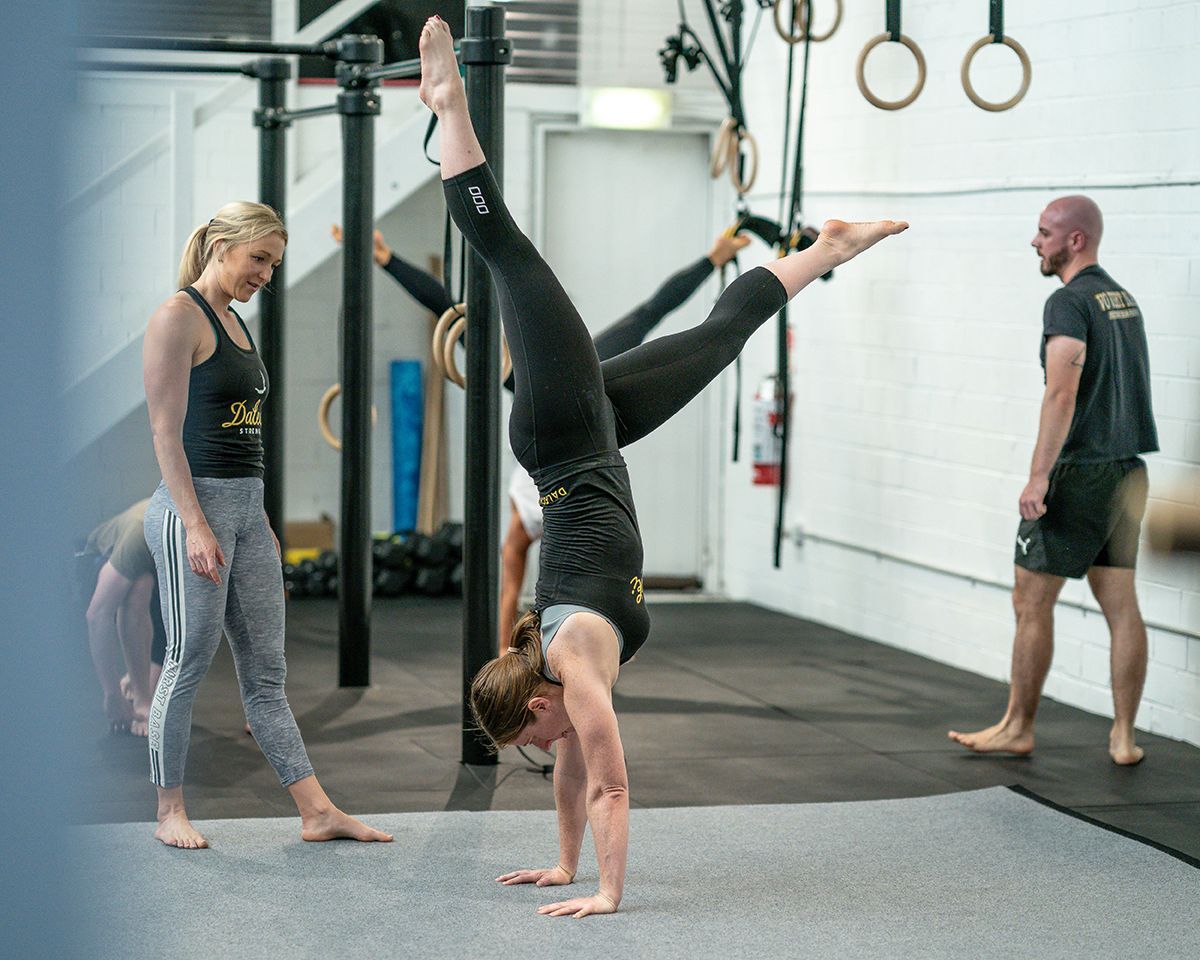
Shoulder and thoracic mobility (or lack of) is the most common this stopping adult learning a proper handstand balance.
Hamstring mobility, this will make your kick up easier and more accurate. Restriction in your hamstring and/or back can make handstand entries more difficult and less accurate.
BALANCE
Learning to balance is the second step, this includes everything from conditioning shapes and positions to finding that sweet spot.
Conditioning floor drills to build the traps, shoulders and core.
Perfecting alignment and spending a lot of time on your hands using the wall Handstand balance drills on the wall, both chest to wall and back to wall.
Then finally, “pull” drills, once positions are solid, learning to “pull” off the wall by shifting the body into the balance position.
ENTRY
Finally, the entry, developing a controlled entry and reducing those “hit and miss” attempts. Wouldn’t it be nice getting 8 out of 10 handstands or even 10 out of 10
Scissor kick up, the most common entry starting with your hands on the floor in a lunge starting position, this gives a little more control as you can place your hands and shoulders into an ideal position with less room for error.
Tuck up, not necessarily harder or easier. Sometime people with tight hamstrings will find a tuck up easier. Start with hands on the floor, feet tucked in, push off the floor with two feet and lift hips over shoulders
Straddle up, starts with a jump to straddle to handstand, then rock to straddle handstand and eventually a press to straddle handstand.
Once you are physically prepared, can balance alongside the wall and have a few entry variations up your sleeve, it’s time to build volume and really condition your positions.
A mistake we see many people make is moving on too early. This happens when they hit one really good balance, one-off time and they believe they have nailed it.
The true test with handstands is how often you can hit your decent holds. It needs to be a very high percentage of your attempts, otherwise, you are not ready to move on.
Whilst there is no universally accepted “standard” of what makes a beginner, intermediate or advanced balancer. It is good to follow some sort of rule, even if you make it up yourself. You want to set yourself some mini targets to aim for, to ensure you are not letting yourself off the hook too easily.
If you aren’t sure what to aim for- borrow these
BEGINNER
Chest to wall hold 3 x 30 sec on/60 off
Kick up 5 out of 10 kick ups alongside the wall, without touching it
Heel pull 5 x 10 seconds
INTERMEDIATE
Chest to wall hold 3 x 60 sec on/60 off
Kick up 8 out of 10 kick ups alongside the wall, without touching it
Heel pull 5 x 15 seconds